
You are now the owner of a LibreServer home internet appliance. Your mission, if you choose to accept it, is to become a citizen of the internet rather than a helpless consumer existing at the whim of companies who simply don't care what happens to you or your information.
Your shipment should include:
To set the system up you'll need either a smartphone or a laptop/desktop machine.
Connect the server box to one of the sockets on your internet router using the ethernet lead.
Plug in the power supply and power on.
Most internet routers come with zeroconf/mDNS enabled so that you can plug in network printers or other gadgets. If this isn't enabled then access your router's settings page and turn that on. Usually internet routers are accessed via a local IP address, such as 192.168.1.1 or 192.168.1.254.
Using a smartphone or laptop/desktop open a browser and navigate to http://libreserver/admin or http://libreserver.local/admin. If neither of those work then log in to your internet router and lookup what IP address the box has been assigned, then try [server local IP]/admin. Don't use a Tor browser for this, because you're accessing only the home network. The default browser should be good enough.
You'll see an initial screen like this:
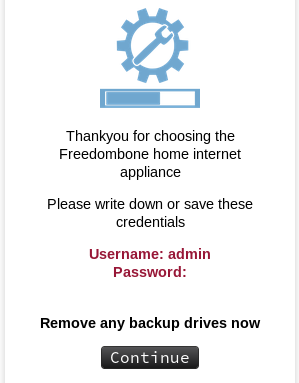
Write down the login credentials, or store them in a password manager such as KeepassXC. You'll need them to log back in later.
After a confirmation screen the box setup process will start. You may be asked to enter a domain name for the box. If you don't have one then just select continue.
This might take 10-20 minutes, depending upon the hardware specifications of your box. What it's doing during this time is mainly generating encryption keys and applying any operating system updates.
Open a browser and navigate to http://libreserver/admin, then log in. You should see the main menu, like this:
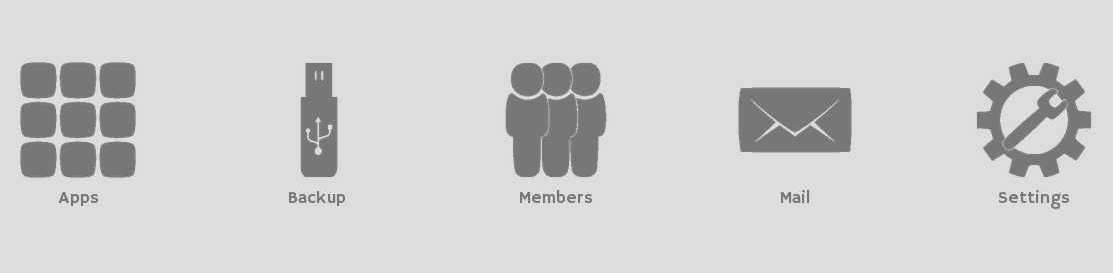
You can navigate through the menus by clicking or pressing the icons, and you can use either the browser back button or select the LibreServer logo at the top to go back to the previous screen.
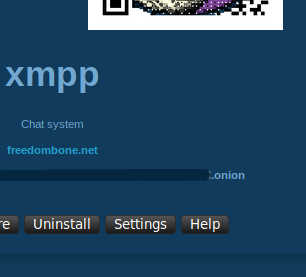
Select the apps icon and you can then add new internet apps to the box by pressing the + button.
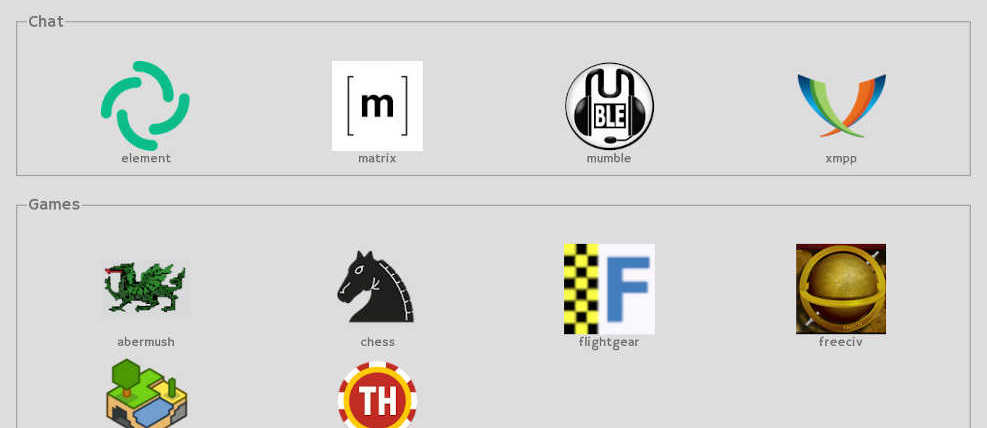
Some apps can take a while to install, so keep checking the apps screen and don't expect it to happen immediately.
If you are using the standard server version then you may need to forward ports from your internet router to your server. If this needs to be done the relevant ports will be shown on the help screen for the app.
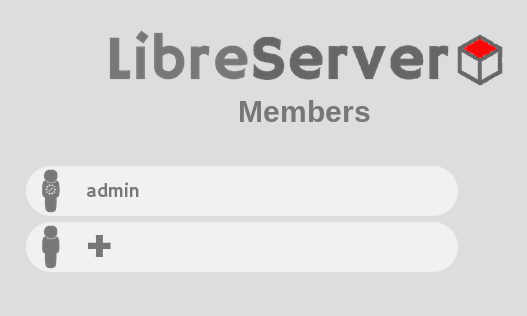
Up to a maximum of ten people may be added via the members screen. It's advisable to add the apps you want and then people later if you're going to have multiple members of your household using this system.
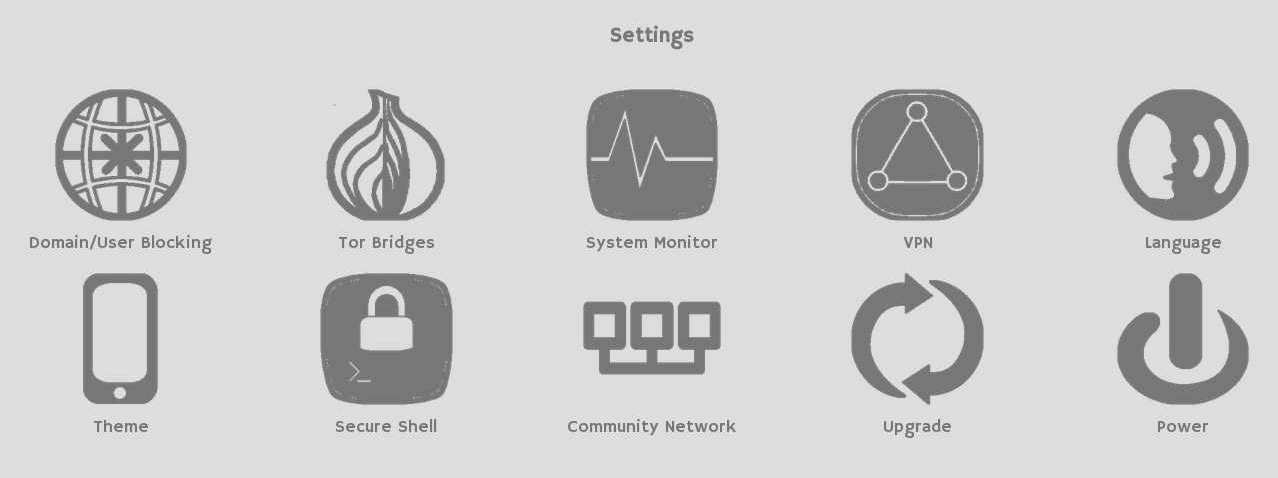
If you're familiar with using a GNU/Linux terminal then you might want to enable secure shell logins from the settings screen. You'll need to supply an ssh public key if you do.
The admin menu is primarily meant only to be accessed from within your home network, but it can also be accessed remotely with a Tor browser via an onion address which can be found by selecting the LibreServer logo on the initial menu screen.
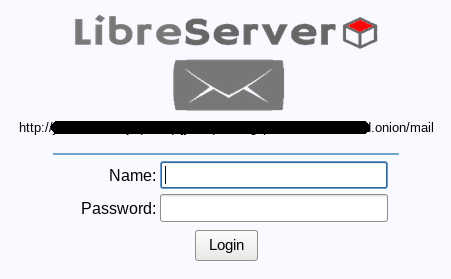
This system also has its own email server, which can be used with onion email addresses. Your email address can be looked up within the members section. You can log into your email account using the same credentials which you used with the web interface. This webmail interface is also available to any other members that you have added via the onion address shown on its login screen.
By default the interface has a light color theme, but if you prefer a dark theme you can switch to that from within the settings.
LibreServer supports many languages. From the settings screen you can change the current language if you need to. Please be aware that the change may take some time to apply, depending upon the speed of your hardware. Wait a few minutes and it should be done.
If you find any translation mistakes or translations which can be improved or want a new language to be added then contact support.
The homepage provides quick access to search and your installed apps. You can set it as your browser homepage.
On your local network from a non-Tor browser the homepage can be accessed from http://libreserver/home or http://server_local_ip/home. If you select the logo at the top you'll be able to get the equivalent onion address so that you can also use this in a Tor browser.
On a smartphone first install F-droid. Open F-droid, go to settings then repositories and enable Guardian Project Official Releases. When that's done update the repositories by swiping down, search for Orbot and install it. Also search for Tor Browser for Android and install that. That will enable you to access onion sites.
On a laptop or desktop machine navigate to the Tor project site and download the browser suitable for your operating system. Follow the install instructions on the site.
Once you're running your own internet software then keeping backups of your data becomes important. You can do this via the backup icon on the admin menu. You'll need to give a password which will be used to encrypt the backup, so that if you lose the USB drive it will still be hard for someone to read your files.
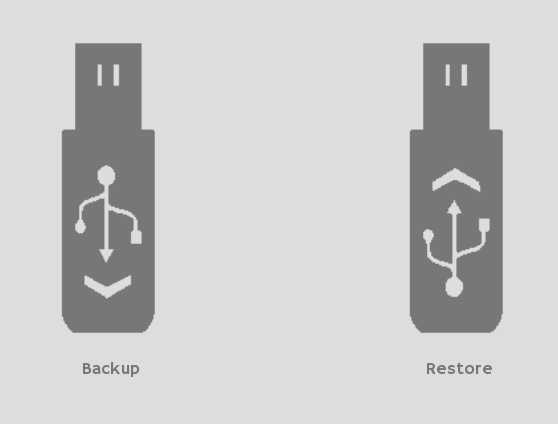
If you leave the backup USB drive plugged into the box then it will backup automatically once per day. You might want to have a few USB drives and rotate them occasionally so that you have more than one backup to return to if one of the drives fails.
The internet was designed as a decentralized system with no clear distinction between clients or servers. LibreServer is about taking it back to where it belongs, working for people and not against them.